You can set up a LocationIQ account in 3 easy steps and start integrating location data into your applications. In this blog post, we will guide you through the sign-up process while also providing best practices to obtain an access token.
Step 1: Sign Up for LocationIQ
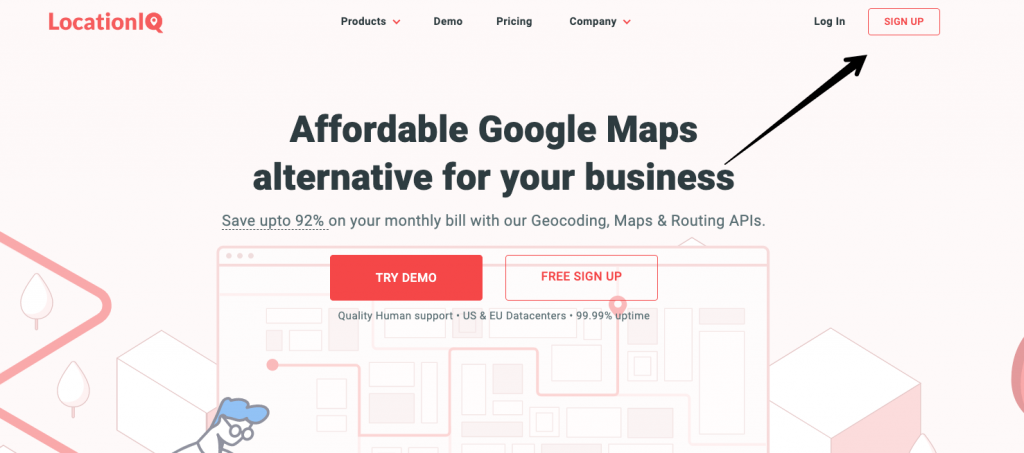
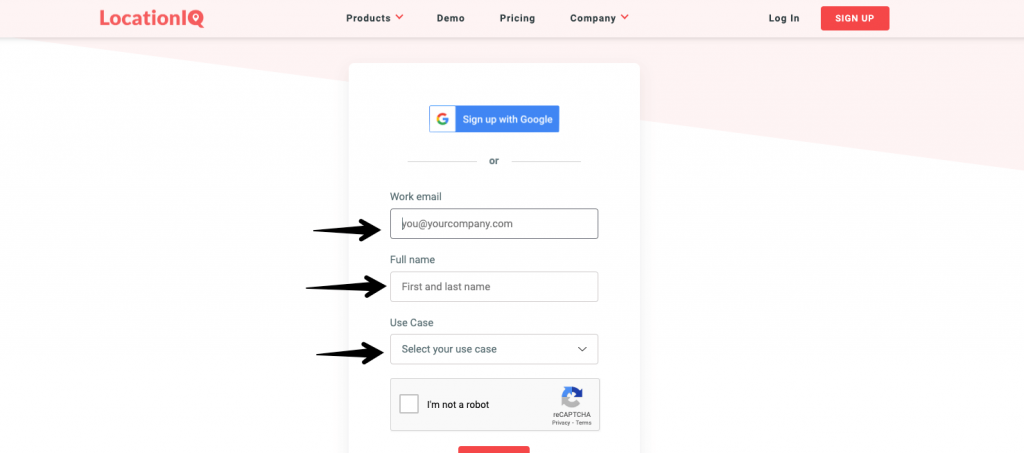
Navigate to the LocationIQ website (https://locationiq.com/) on your web browser. On the LocationIQ homepage, click on the “Sign Up” button at the top right corner of the screen.
Fill out the registration form with your details, including your email address, name, email address and use case. You can also sign up with your Google account.
Step 2: Login to the dashboard
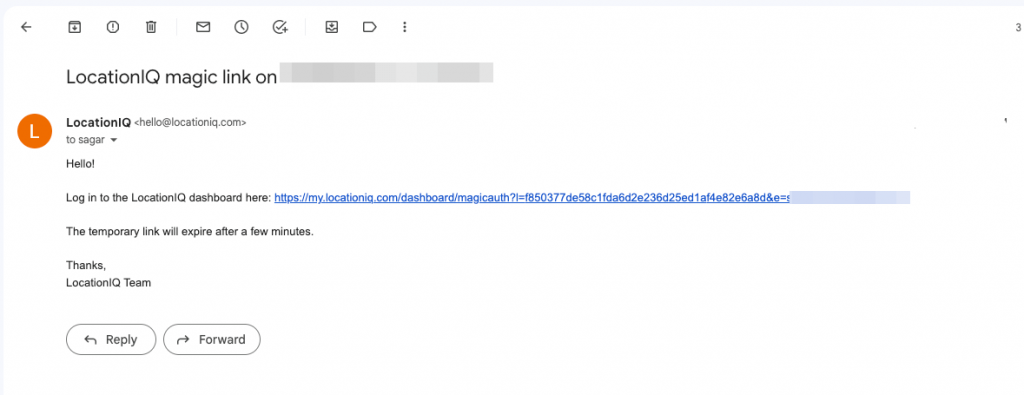
Verify your account by clicking on the link sent to the email address you provided during registration. This will take you to your LocationIQ dashboard. If you already have an account with LocationIQ, enter your email address at the login page and you’ll receive a magic link in your inbox.
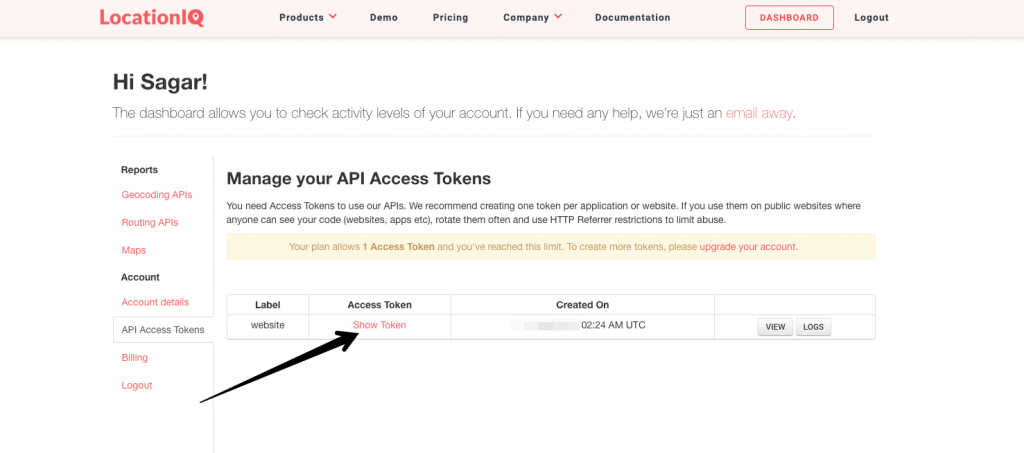
Once you are logged in, you will find your Access Token on the LocationIQ Dashboard under the API Access Tokens tab. This token will be required to access LocationIQ APIs. Click the Show Token button to view your Access Token
Step 3: Secure your Access Token
For public-facing applications such as Javascript websites, where requests are constructed from the browser, your access token will be visible in plaintext. We strongly advise adding restrictions to your access token to ensure that only requests from approved HTTP domains or IP Addresses receive a successful response.
For details on securing your Access token, check out the documentation here.
So that’s it! Signing up for LocationIQ is a piece of cake and can give you access to an excellent suite of geocoding and mapping APIs. Just follow the steps in the post above and you’ll be able to create an account, grab an API Access Token, and start adding LocationIQ to your projects in no time. So why wait? Sign up for LocationIQ today and unlock the power of location intelligence!

