Are you looking for a simple way to bring your data to life with interactive maps? If so, then you are in the right place. In this step-by-step guide, we’ll show you how to create interactive maps using the powerful Location IQ APIs and Maplibre-gl-JS. We’ll walk you through the whole process – from setting up accounts to importing data to crafting custom maps. Plus, you’ll learn helpful tips and tricks to make your maps visually appealing and interactive. So, are you ready to get started? Let’s go!
Step 1: Signup for an account with LocationIQ
- Go to the LocationIQ website (https://locationiq.com/) and click on the “Sign Up” button in the top right corner of the page.
- Fill out the registration form and click on the “Sign Up” button to create your account.
- You will receive an email with login URL. Your account will be created when you click this.
- Once your account is created, log in to the dashboard.
- Your API Access Token will be displayed on the dashboard. Make a note of it, as you will need it to use the API.
- Optional: If your deployment is public-facing, its best to secure your access token with HTTP/ IP referrer restrictions.
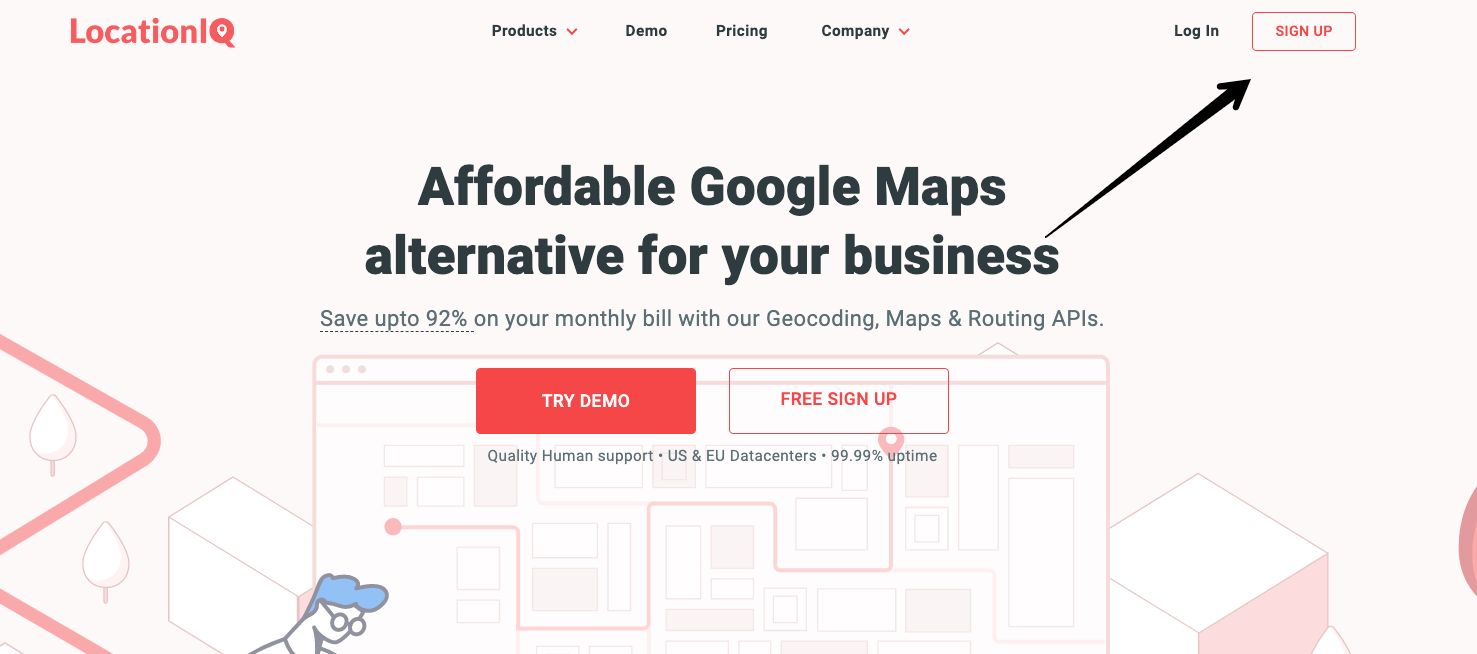
Click on the ‘Sign up’ button on top right 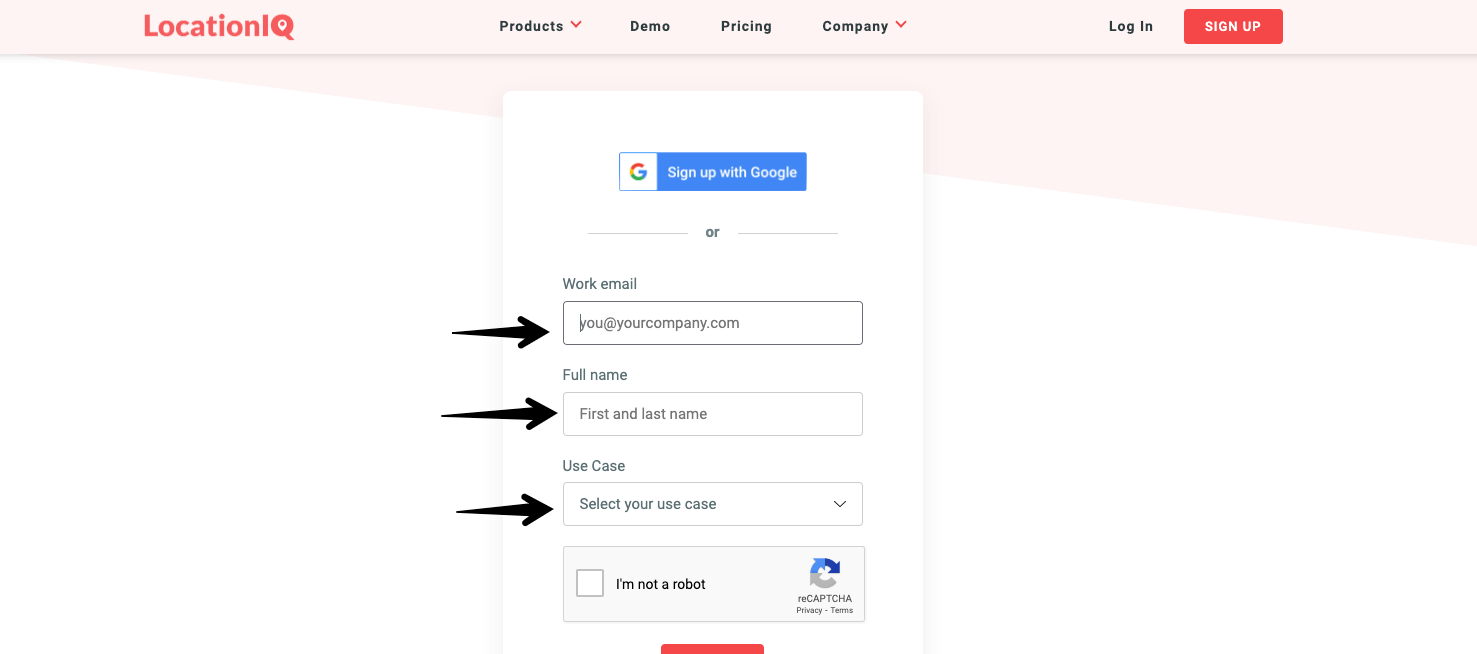
Fill in the registration form

Click on the magic URL in your inbox 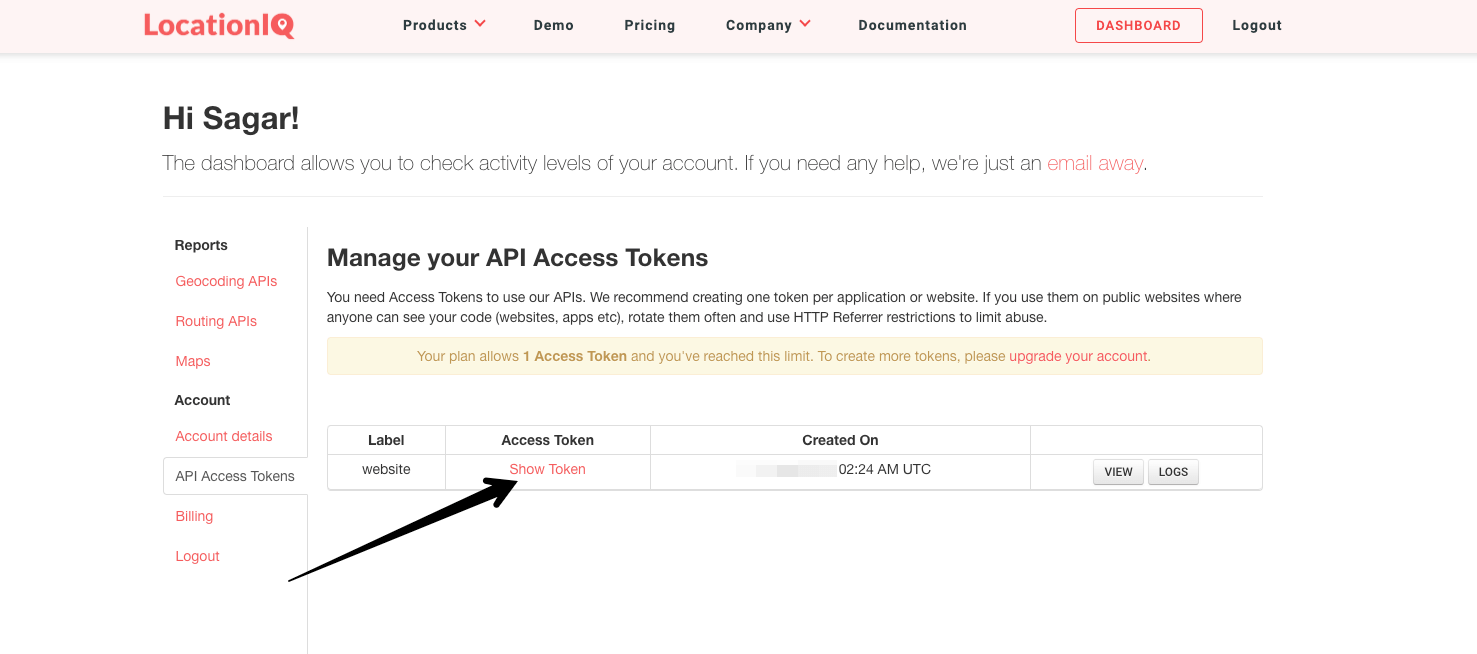
Login to the dashboard and capture your Access Token
Step 2: Load the maplibre-gl JavaScript and CSS files
To get started, you’ll need to load the maplibre-gl JavaScript and CSS files. You can do this by adding the following code to your HTML document:
<script src='https://tiles.locationiq.com/v3/libs/maplibre-gl/1.15.2/maplibre-gl.js'></script>
<link href='https://tiles.locationiq.com/v3/libs/maplibre-gl/1.15.2/maplibre-gl.css' rel='stylesheet' />
Step 3: Load the LocationIQ Geocoder files
To enable the search functionality, you’ll need to load the LocationIQ geocoder files. You can do this by adding the following code to your HTML document:
<script src="https://tiles.locationiq.com/v3/libs/gl-geocoder/4.5.1/locationiq-gl-geocoder.min.js?v=0.2.3"></script>
<link rel="stylesheet" href="https://tiles.locationiq.com/v3/libs/gl-geocoder/4.5.1/locationiq-gl-geocoder.css?v=0.2.3" type="text/css" />
Step 4: Create the map container
Let’s place an empty div in the HTML document which will be used by the MapLibre GL to display the map
<div id='map'></div>Step 5: Initialize the map
Now that you have created the map container, it’s time to initialize the map. You can do this by adding the following code to your HTML document:
<script>
//Add your LocationIQ Maps Access Token here (not the API token!)
locationiqKey = 'pk.a5c3fbf2119bfb2275b62eddbccd76b3';
//Define the map and configure the map's theme
var map = new maplibregl.Map({
    container: 'map',
    attributionControl: false, //need this to show a compact attribution icon (i) instead of the whole text
    style: 'https://tiles.locationiq.com/v3/streets/vector.json?key='+locationiqKey,
    zoom: 12,
    center: [-122.42, 37.779]
});
</script>- The “container” attribute takes the id of the div element where the map will be displayed.
- The “attributionControl” attribute set to false hides the default attribution control of the map.
- The “style” attribute takes the URL of the map style, which we can obtain from the LocationIQ Maps API. In this case, we are using the “streets” style and appending the LocationIQ Maps Access Token to the URL.
- The “zoom” attribute sets the initial zoom level of the map.
- The “center” attribute sets the initial center of the map in the form of longitude and latitude.
Step 6: Adding the Geocoder control to the map
Next, we need to add the Geocoder control to the map. This will allow the user to search for a location on the map.
//Add Geocoder control to the map
map.addControl(new MapboxGeocoder({
    accessToken: locationiqKey,
    mapboxgl: maplibregl,
    limit: 5,
    dedupe: 1,
    marker: {
        color: 'red'
    },
    flyTo: {
        screenSpeed: 7,
        speed: 4
    }
}), 'top-left');- We add the geocoder control to the map using the addControl method of the map instance.
- The MapboxGeocoder constructor is passed to the addControl method, and it takes several attributes as arguments.
- The “accessToken” attribute takes the LocationIQ Maps Access Token.
- The “mapboxgl” attribute takes the object maplibre-gl map to display the result.
- The “limit” attribute sets the maximum number of results returned by the geocoder.
- The “dedupe” attribute set to 1 removes duplicates from the results.
- The “marker” attribute sets the color of the marker that is displayed on the map when a result is selected from the geocoder results list.
- The “flyTo” attribute sets the animation when the map moves to the selected result from the geocoder.
- The position of the geocoder control on the map can be set by passing the position argument to the addControl method, in this case, it is set to “top-left”.
Step 7: Add Markers to the map
To add a marker to the map, follow these steps:
- Create a new DOM element for the marker.
- Set the class or id of the DOM element as desired for styling the marker. The class or id can be used to specify the marker’s style either in a separate CSS file or in the JavaScript code.
- Create a new marker using the maplibre-gl library’s
maplibre-gl.Markerclass and pass the DOM element as an argument. - Set the marker’s longitude and latitude using the
setLngLatmethod. - Add the marker to the map using the
addTomethod.
// create a new DOM element for the marker
var el = document.createElement('div');
el.className = 'marker';
// set the background image, width, and height for the marker
el.style.backgroundImage = 'url(marker50px.png)';
el.style.width = '50px';
el.style.height = '50px';
// create a new marker using the DOM element
var marker = new maplibregl.Marker(el)
// set the marker's longitude and latitude
marker.setLngLat([-122.4727000, 37.786258]);
// add the marker to the map
marker.addTo(map);
This code will add a marker to the map at the specified longitude and latitude. The marker’s style can be customized using the CSS class .marker or in the JavaScript code as shown above. This is how things look when you put it all together:
<!DOCTYPE html>
<html>
<head>
    <title>Location IQ and MapLibre GL JS Example</title>
    <meta charset="utf-8">
    <meta name="viewport" content="width=device-width, initial-scale=1">
    <script src="https://cdn.jsdelivr.net/npm/[email protected]/locationiq.min.js"></script>
    <script src="https://cdn.jsdelivr.net/npm/maplibre-gl/dist/maplibre-gl.js"></script>
    <link rel="stylesheet" href="https://cdn.jsdelivr.net/npm/maplibre-gl/dist/maplibre-gl.css">
    <style>
        #map {
            height: 500px;
            width: 100%;
        }
    </style>
</head>
<body>
<div id="map"></div>
<script>
    // Create a Location IQ client object
    const liqClient = new locationiq('YOUR_API_KEY');

    // Create a MapLibre GL map object
    const map = new maplibregl.Map({
        container: 'map',
        style: 'https://api.maptiler.com/maps/topo/style.json?key=YOUR_MAPTILER_KEY',
        center: [-74.0060, 40.7128],
        zoom: 12
    });
//Add Geocoder control to the map
map.addControl(new MapboxGeocoder({
    accessToken: locationiqKey,
    mapboxgl: maplibregl,
    limit: 5,
    dedupe: 1,
    marker: {
        color: 'red'
    },
    flyTo: {
        screenSpeed: 7,
        speed: 4
    }
}), 'top-left');

// create a new DOM element for the marker
var el = document.createElement('div');
el.className = 'marker';
// set the background image, width, and height for the marker
el.style.backgroundImage = 'url(marker50px.png)';
el.style.width = '50px';
el.style.height = '50px';
// create a new marker using the DOM element
var marker = new maplibregl.Marker(el)
// set the marker's longitude and latitude
marker.setLngLat([-122.4727000, 37.786258]);
// add the marker to the map
marker.addTo(map);

</script>
</body>
</html>
For more examples refer to our sandbox for maps here. And that’s it! You now have an interactive map with Location IQ and Maplibre that has a Geocoder control to search for locations.
If you’re interested in learning more about the power and capabilities of Location IQ, click here! Get started with Location IQ today and start creating interactive maps that engage and inform your audience!